Proudly Serving the Phoenix Metro Area
What are the Steps in a Leak Detection?
How Are Hidden Leaks Found?
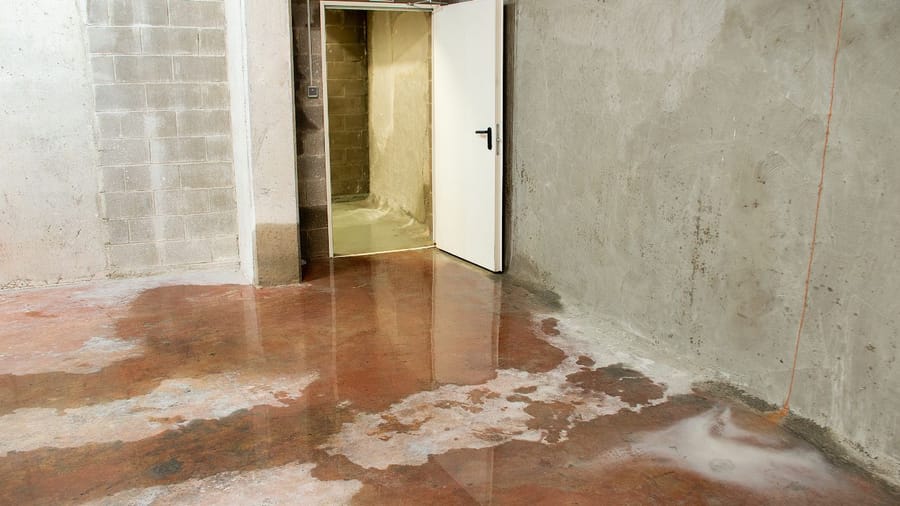
Water leaks can be a silent adversary, causing structural damage to your home and leading to wasted water and increased bills. Early detection and repair are crucial to prevent more significant issues. Understanding the steps involved in leak detection can help you grasp the process and the importance of professional intervention. Here’s a comprehensive look at the process of leak detection to safeguard your home.
Initial Assessment
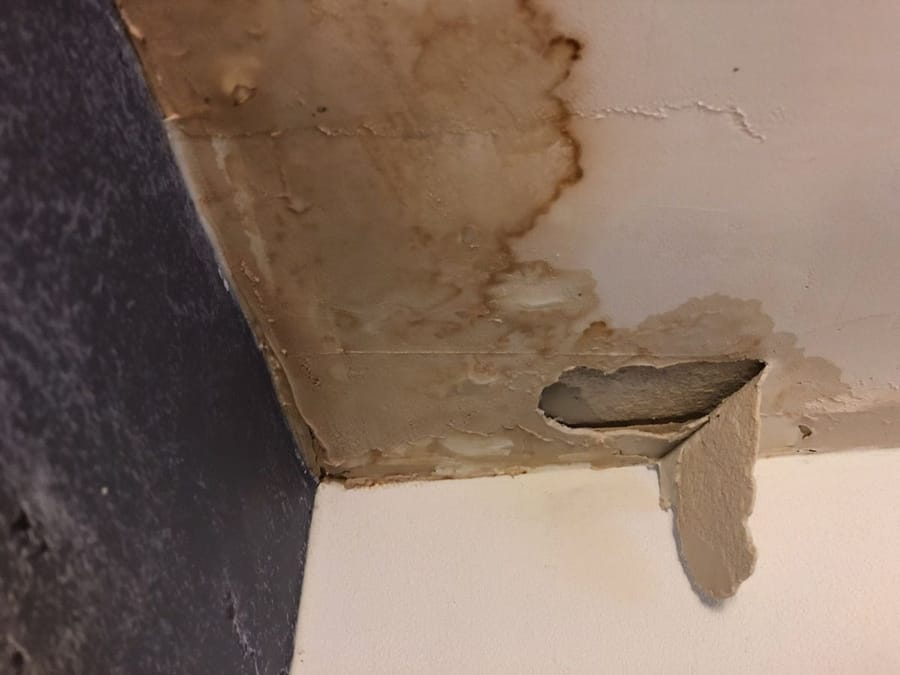
The first step in leak detection involves a thorough assessment of your property. This includes a review of your water usage, an examination of your water bill for any unexplained increases, and a visual inspection of your home for signs of leaks, such as mold, mildew, or water stains. These initial indicators help narrow down the potential areas where a leak could be present.
Using Advanced Detection Equipment
Professionals utilize state-of-the-art equipment to accurately locate leaks without causing damage to your property. Some of the tools include:
- Acoustic Detectors: These devices listen for the sound of water escaping from pipes, even through concrete and other materials.
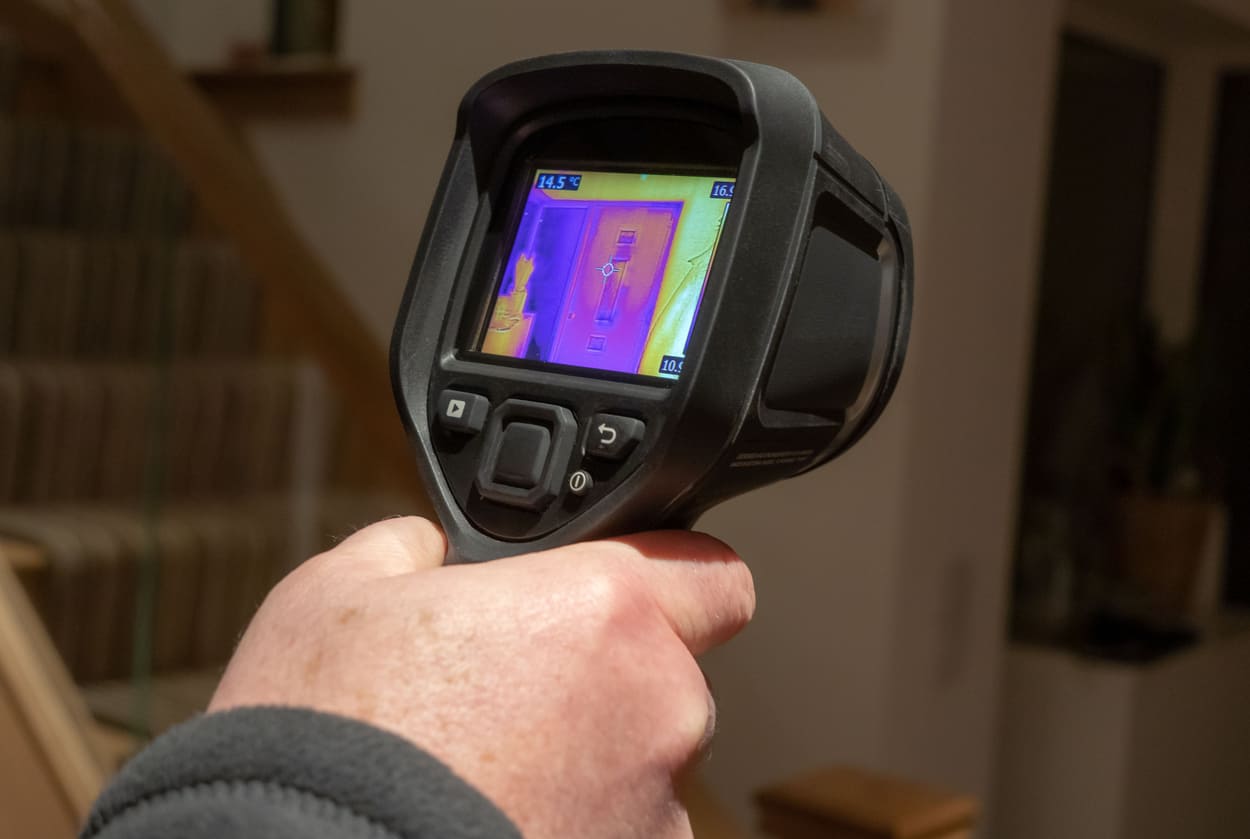
- Thermal Imaging Cameras: By detecting temperature variations in walls and floors, these cameras can pinpoint the exact location of a hidden leak.
- Moisture Meters: Used to measure the moisture content in various materials, helping to identify the presence of leaks behind walls or under floors.
Pressure Testing
Pressure testing involves isolating different sections of your plumbing system and monitoring the pressure. If the pressure drops, it indicates a leak within that section. This method helps narrow down the search and focus on the specific areas needing repair.
Dye Testing
In certain situations, especially for leaks in pools or large plumbing systems, dye testing may be employed. A non-toxic dye is introduced into the water, and its movement is observed. The dye will flow towards the leak, revealing its location.
Pinpointing and Repairing the Leak
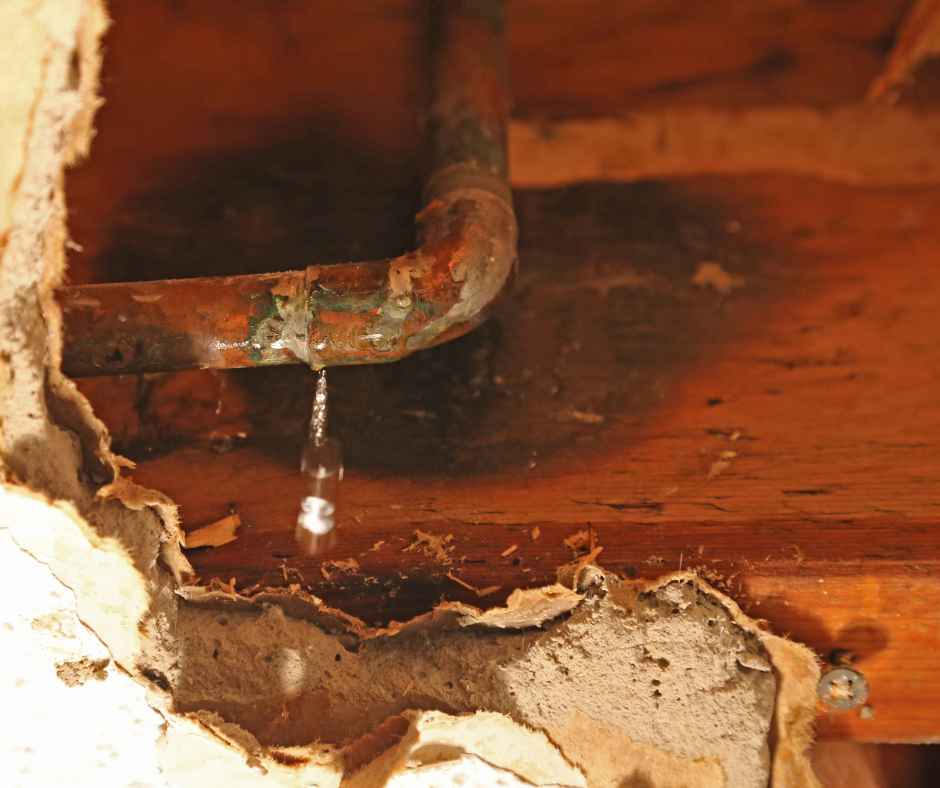
Once the leak’s location has been accurately identified, the next step is to access the area and perform the necessary repairs. This might involve cutting into walls or digging up a small section of your yard, but with modern leak detection methods, the disruption is kept to a minimum.
Final Testing and Restoration
After the repair, a final test is conducted to ensure that there are no more leaks. Once confirmed, any opened walls or disturbed areas are restored to their original condition, leaving your home leak-free and intact.
Leak detection is a meticulous process that requires professional expertise and advanced technology. Early intervention not only saves water and reduces your bills but also protects your home from potential damage.
Need Professional Leak Detection Services?
If you suspect a leak in your home, don’t wait for the problem to worsen. Plumbing Masters in Phoenix specializes in advanced leak detection techniques to quickly and efficiently resolve your issues. Contact us today to protect your home from the hidden dangers of water leaks.
Recent News
Hydro Jetting vs. Traditional Drain Cleaning: Which Is Worth It for Phoenix Clogs?
Water Heater Wars: Gas vs. Electric vs. Tankless in the Phoenix Heat
Backflow Prevention 101: Protect Your Family & Save on Repairs
Water Quality in Phoenix: Testing, Filtration & Softeners Explained
Arizona Summer Plumbing Survival Guide
Signs of a Plumbing Leak
